Soulless Knight: User Manual
Welcome to Soulless Knight, a high-octane, top-down roguelite dungeon crawler for iOS. You are a Knight searching for your lost essence in a world that has forgotten mercy.
Your Objective
Navigate the treacherous, procedurally generated depths of the dungeon. Your goal is simple but deadly: survive, clear the rooms of spectral horrors, and defeat the Dungeon Overlord to reclaim your soul. Only by collecting your soul can you escape the loop and return home.
Controls
Mastering your movement is the difference between life and death.
| Control | Action | Details |
|---|---|---|
| Left Joystick | Move | Drag to navigate your character through the dungeon. |
| Right Joystick | Aim & Shoot | Drag to aim and hold to fire continuously. |
| Switch Button | Swap Weapon | Cycles between your Primary and Secondary weapons. |
| Drop Button | Discard | Drops your current Primary weapon onto the floor. |
| Pickup Button | Scavenge | Picks up a nearby weapon. If your hands are full, it replaces your Secondary weapon. |
The Dungeon Loop
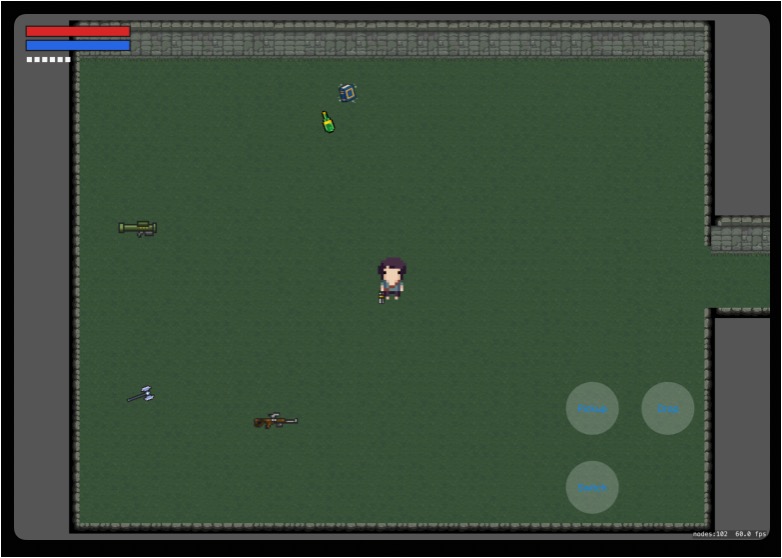
1. The Armory (Start Room)
You begin every run in a safe zone filled with experimental weaponry.
- Loadout: You can carry a maximum of two weapons.
- Strategy: Spend a moment testing weights and fire rates before stepping into the dark.
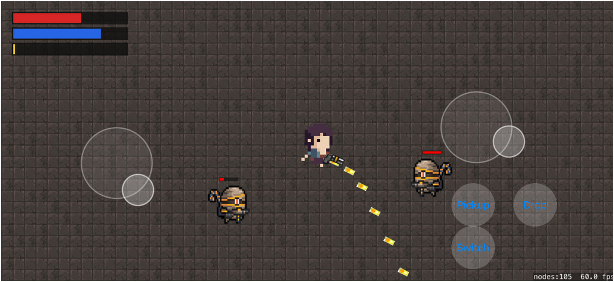
2. Combat Rooms
As you progress, you will enter rooms that seal shut the moment you step inside.
- Lockdown: Blue energy barriers block all exits.
- Clearing: Defeat every enemy in the room to break the barriers and unlock the next path.
3. The Boss & The Soul
The final room of every dungeon houses a unique challenge.
- Boss Fight: Expect massive waves and unique patterns.
- The Soul: Once the Boss falls, a radiant Soul will appear at the center of the room.
- Extraction: Walk over the Soul to collect it. The level will clear, and you'll be safely extracted back to Level Select after a brief victory pause.
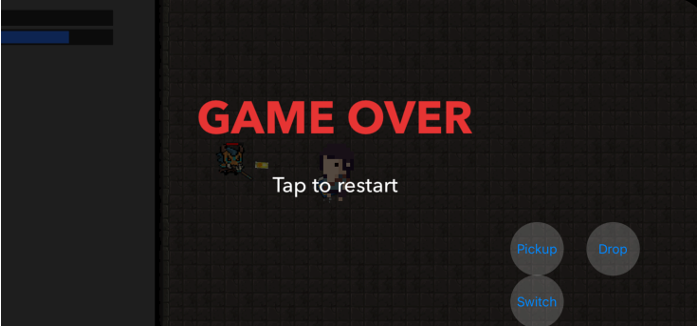
Survival & Game Over
- Health: Watch your HP bar carefully. Use the environment and your dash-like movement to avoid contact.
- Death: If your health hits zero, it's game over. But don't despair—tap anywhere to restart the level and try again with a better strategy!
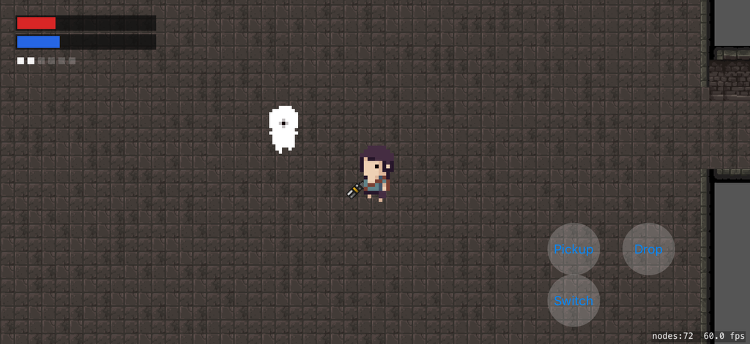
Know Your Enemy
| Enemy | Class | Threat Level | Note |
|---|---|---|---|
| Charger | Bruiser | Medium | High mass; will try to shove you into walls! |
| Mummy | Skirmisher | Low | Quick but fragile. Don't let them surround you. |
| Ranger | Marksman | High | Circles you while firing. Use high-speed weapons to pin them down. |
| Tower | Artillery | Severe | Stationary but fires devastating projectiles. Take them out first! |
[[ image of Enemy Bestiary / Sprites ]]
Weaponry & Mana
Success depends on your choice of steel and spell.
- Firearms: (Handgun, Sniper, Bazooka) High damage but require Ammo. Watch your magazine count and wait for the reload cycle.
- Magic: (Spellbook) Devastating area effects that consume Mana. Mana regenerates over time, so pace your spell-casting!
- Melee: (Sword, Axe) Requires no resources but puts you in harm's way. Perfect for conserving ammo or finishing off weakened foes.
Pro Tip: Use the Axe's charged attack for massive damage, or the Bazooka to create fire zones that damage enemies over time!
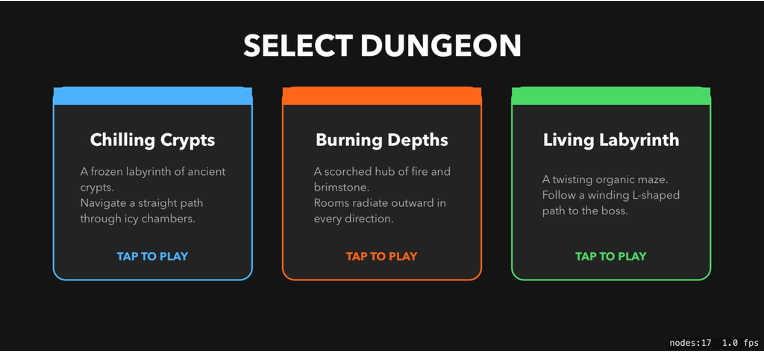
Dungeon Themes
Every dungeon uses a unique structural layout:
- Linear: A straightforward path to the boss.
- Star-Shaped: A central hub with paths branching out to different challenges.
- L-Shaped: A winding, unexpected layout that tests your navigation.
Good luck, Knight. May your aim be true and your soul returned.